You’ve come to the right place if you’re looking for a comprehensive Aweber tutorial. Our step-by-step guide includes a PDF that will provide all the information you need to effectively use Aweber for your email marketing needs.
Whether you’re a beginner or an experienced user, this tutorial will walk you through every aspect of using Aweber.
NOTE: Get your free ultimate Aweber tutorial PDF guide below.
Introduction to Aweber and its Features
Aweber is a popular email marketing platform offering many features to help businesses manage their email campaigns effectively.
In this tutorial, we will introduce Aweber and its key features. Whether you’re new to email marketing or already familiar with the platform, this guide will give you a comprehensive overview of using Aweber to maximize your email marketing efforts.
We’ll cover everything from creating and managing subscriber lists to designing and sending professional-looking emails. So let’s dive in and get started with Aweber!
How to Use Aweber
Here’s a quick guide on how to use AWeber:
- Sign up and set up your AWeber account:
- Go to the AWeber website here.
- Follow the instructions to set up your account by providing the details, such as your name, email address, and password.
- Provide additional information about your business, such as your address and phone number.
- Create a list:
- Once logged in, the first step is to create a list. A list helps you manage your subscribers and send targeted email campaigns.
- Click “Manage Lists” and select “Create a List.”
- Provide a name for your list, set up the sender information, and configure other preferences as needed.
- Import and manage subscribers:
- To import your existing subscriber list, click “Subscribers” and select “Import Subscribers.”
- Follow the prompts to upload your subscriber list in CSV or TXT format.
- AWeber also provides options to add subscribers or integrate with third-party services manually.
- Create an email campaign:
- Click on “Messages” and select “Broadcasts” to create a one-time email campaign.
- Click “Create a Broadcast” and choose a template or start from scratch.
- Customize the email content, including the subject line, body, and any images or links you want to include.
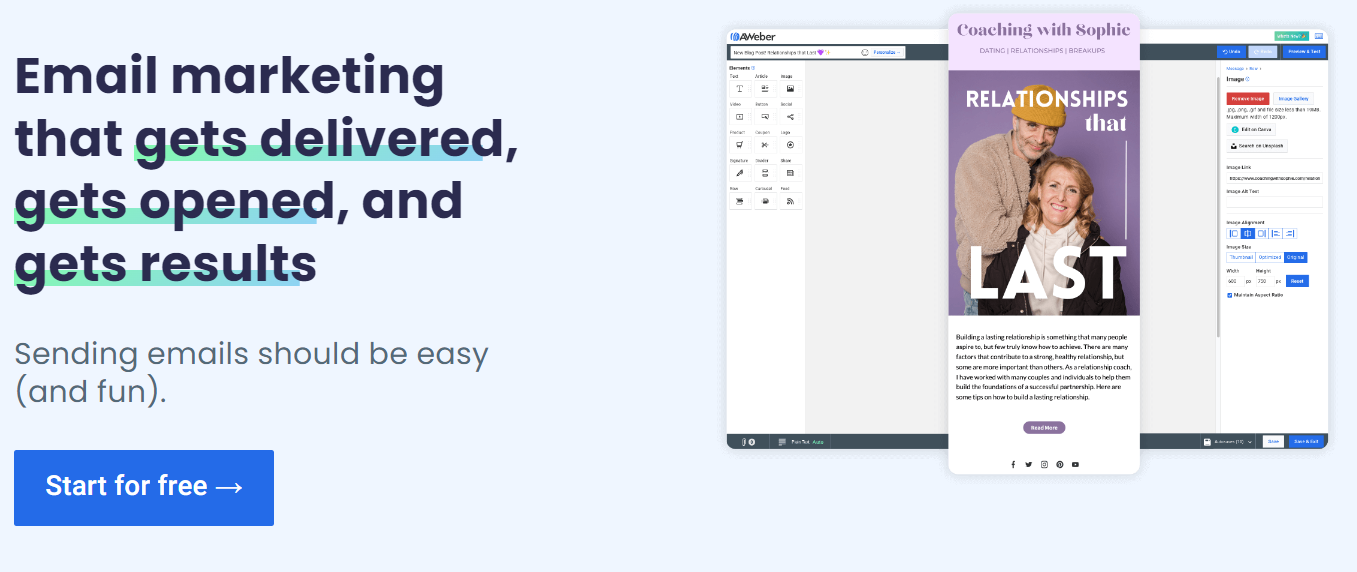
- AWeber offers a drag-and-drop email editor for accessible design.
- Set up automated email sequences:
- Automated email sequences allow you to send subscribers a series of pre-scheduled emails.
- Click on “Messages” and select “Legacy Follow-Up Series” to create an automated sequence.
- Set the timing and intervals for each email in the sequence.
- Customize the content of each email to provide value and engage subscribers.
- Design and add signup forms:
- Click “Sign Up Forms” to create and customize signup forms for your website or landing pages.
- Choose a template or start from scratch to design your form.
- Customize the fields, layout, and design according to your preferences.
- Generate the form’s HTML code and embed it on your website or use AWeber’s hosted forms.
- Track and analyze campaign performance:
- AWeber provides reporting and analytics features to track the performance of your email campaigns.
- View metrics like open rates, click-through rates, unsubscribe rates, and more.
- Use this data to optimize your campaigns and improve results over time.
- Manage subscriber segmentation and tags:
- Use AWeber’s segmentation and tagging features to categorize and target specific groups of subscribers.
- Segment subscribers based on their interests, preferences, or behavior.
- Assign tags to subscribers to further refine your targeting and personalization efforts.
This quick guide covers the basic features of AWeber. It’s essential to explore the platform’s documentation, tutorials, and support resources for more detailed instructions and to discover additional features to enhance your email marketing efforts.
Setting up Your Aweber Account
You’ll need to set up your account before you can start using Aweber for your email marketing.
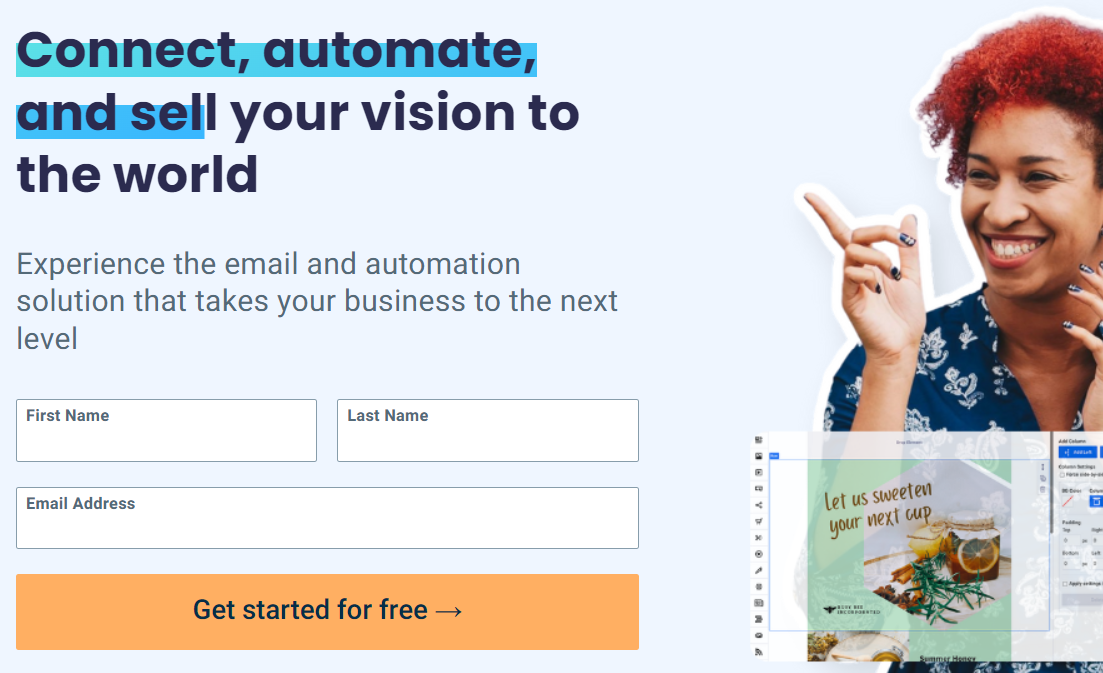
The process is quick and easy, and we’ll walk you through it step by step. First, Go to the AWeber website here.
You’ll be prompted to enter your name, email address, and password for your account.
Once you’ve filled in the required information, click the “Create My Account” button. A confirmation email will be sent to the email address you provided.
Click on the link in the email to verify your account, and you’ll be ready to start using Aweber.
Creating and Managing Your Email Lists
Once you have set up your Aweber account, the next step is to create and manage your email lists. Email lists are essential for organizing subscribers and targeting specific groups with your email campaigns.
To create a new email list, log in to your Aweber account and click the “Manage Lists” tab. From there, click on the “Create a List” button and fill in the necessary information, such as the name of your list and a brief description.
You can customize the confirmation message subscribers will receive when they sign up for your list. Once your list is created, you can add subscribers by importing a CSV file or manually adding them individually.
Aweber also provides tools for managing your lists, such as segmenting your subscribers based on specific criteria and setting up automated email campaigns.
You can ensure your email marketing efforts are targeted and successful by effectively creating and managing your email lists.
Designing and Customizing Email Templates
Once you have your email lists in Aweber, the next step is to design and customize your email templates.
Aweber offers a variety of pre-designed templates that you can choose from, or you can create your custom template using their drag-and-drop editor.
To design your email template, select the template you want to use and start customizing it to fit your brand and message. You can add your logo, change the colors and fonts, and add images or videos to make your emails visually appealing.
Aweber also allows you to personalize your emails by adding merge tags and automatically inserting the subscriber’s name or other information into the email. This can help make your emails feel more personal and engaging.
Once you have designed your template, you can save it for future use or use it as a starting point for future emails. Aweber also provides testing tools to preview how your email will look on different devices and make any necessary adjustments.
By designing and customizing your email templates in Aweber, you can create professional-looking emails that effectively communicate your message and engage your subscribers.
Creating and Scheduling Email Campaigns
After designing your email templates in Aweber, the next step is to create and schedule your email campaigns. Aweber makes it easy to create and send targeted emails to your subscribers.
To create an email campaign, select the template you want to use and customize it with your content. You can add text, images, links, and dynamic content using Aweber’s drag-and-drop editor.
Once your email is ready, you can choose the recipients for your campaign. Aweber allows you to segment your email list based on various criteria, such as demographics, interests, or past interactions. This helps you send more personalized and relevant emails to your subscribers.
After selecting your recipients, you can schedule your email campaign for a specific date and time. Aweber also offers the option to send your emails immediately or set up automated campaigns triggered by particular actions or events.
Once your campaign is scheduled, Aweber provides analytics and reporting tools to track the performance of your emails. You can see how many people opened your email, clicked on links, and even made purchases due to your campaign.
Creating and scheduling email campaigns in Aweber can effectively engage your subscribers and drive results for your email marketing efforts.
Aweber Landing Page Tutorial
Here’s a tutorial on how to create a landing page using AWeber:
- Log in to your AWeber account:
- Go to the AWeber website (aweber.com) and log in to your account using your credentials.
- Navigate to the Landing Page Builder:
- In your AWeber dashboard, click “Landing Pages” in the top menu.
- Choose a template:
- AWeber provides a variety of pre-designed templates for landing pages.
- Browse through the available templates and select the one that suits your needs.
- You can preview each template before making a selection.
- Customize the landing page:
- Once you’ve selected a template, you can customize it to match your brand and desired layout.
- AWeber’s landing page builder has a drag-and-drop interface that makes customization easy.
- Edit elements such as text, images, buttons, and forms by clicking on them and making changes.
- Add and edit form fields:
- Landing pages often include a form for visitors to enter their information.
- Customize the form fields by clicking on them and editing the text, style, and settings.
- Choose which fields are required or optional, and select the type of data to collect (e.g., name, email, phone number).
- Configure form settings:
- Click on the form element to access its settings.
- Configure settings such as success messages, thank you page redirection, and form behavior.
- You can also integrate your form with AWeber’s email marketing features to automatically add subscribers to your lists.
- Customize design and layout:
- Use the design options in the landing page builder to customize the appearance of your page.
- Modify colors, fonts, backgrounds, and other visual elements to match your branding.
- You can also adjust the layout and positioning of elements to create a visually appealing and user-friendly page.
- Preview and publish your landing page:
- Before publishing your landing page, preview it to ensure everything looks and functions as expected.
- Click the “Preview” button to see how your page will appear to visitors.
- If satisfied, click the “Publish” button to make your landing page live.
- Customize the landing page URL:
- AWeber provides a default URL for your landing page, but you can customize it to make it more user-friendly.
- Click on the “URL” tab to edit the landing page URL and set a custom slug or subdirectory.
- Track and analyze landing page performance:
- AWeber offers reporting and analytics features to track the performance of your landing pages.
- Monitor metrics such as page views, conversion rates, and engagement.
- Use this data to optimize your landing page design and content for better results.
Remember to connect your landing page with your email marketing strategy to your AWeber account. This way, you can capture leads and automate follow-up sequences to nurture your prospects effectively.


